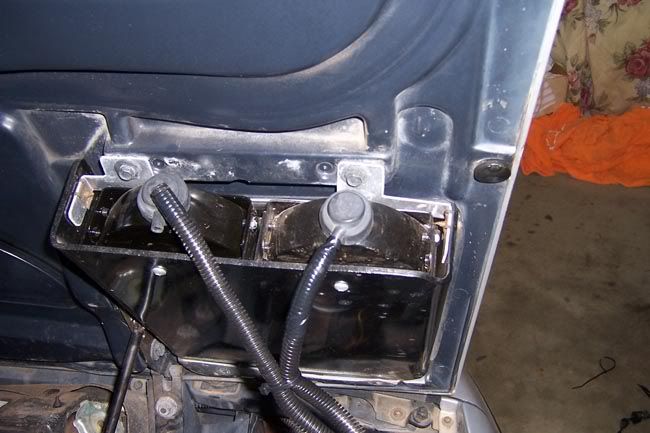
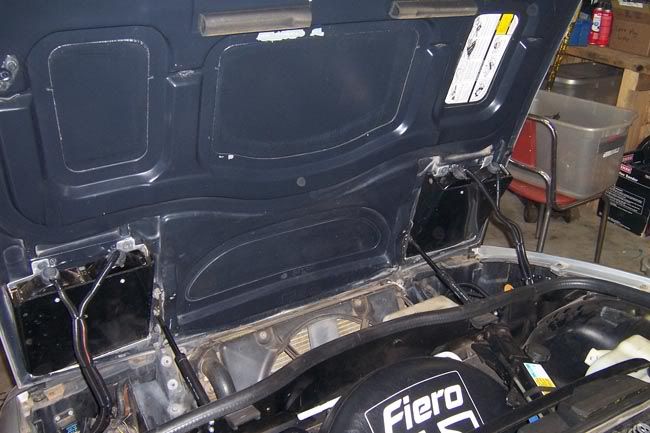
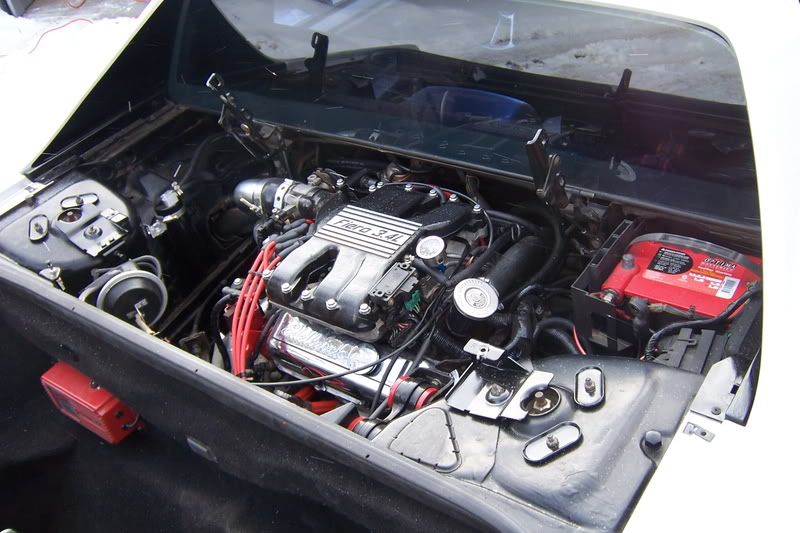
Oh, and I'm pulling off that red vac hose on the end of the two canisters. Putting the black one back on.
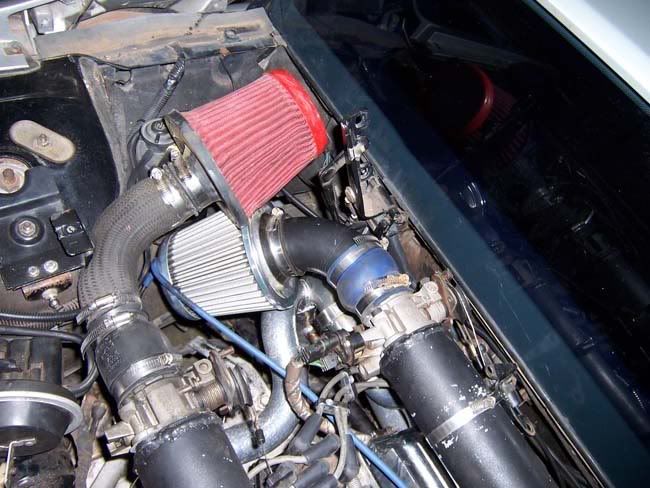
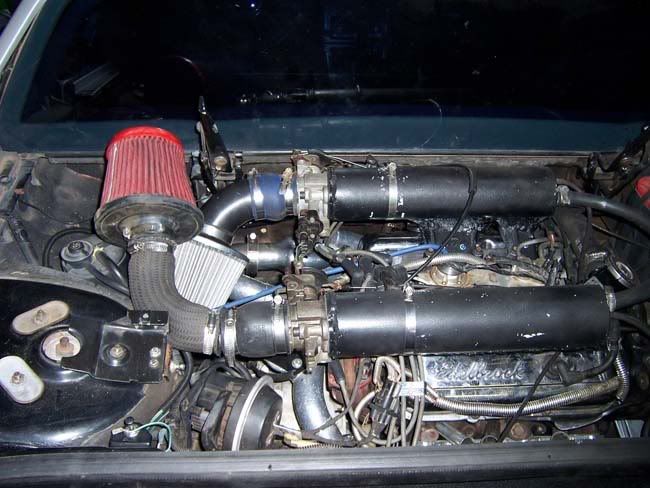
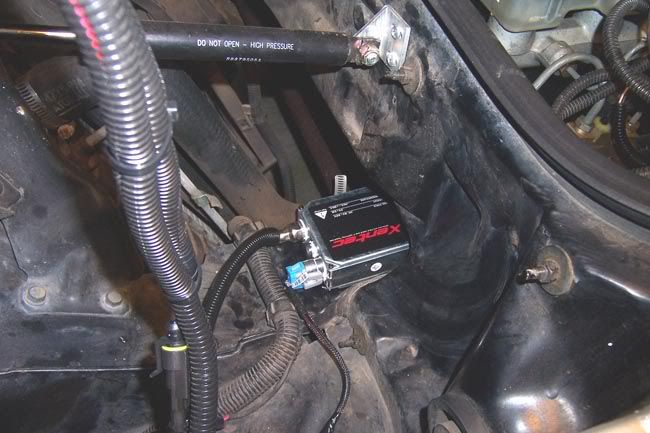
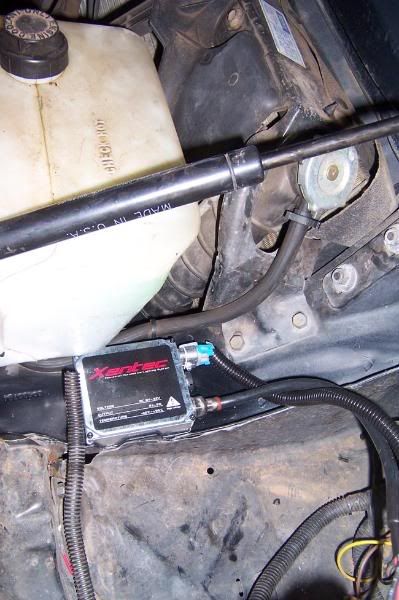
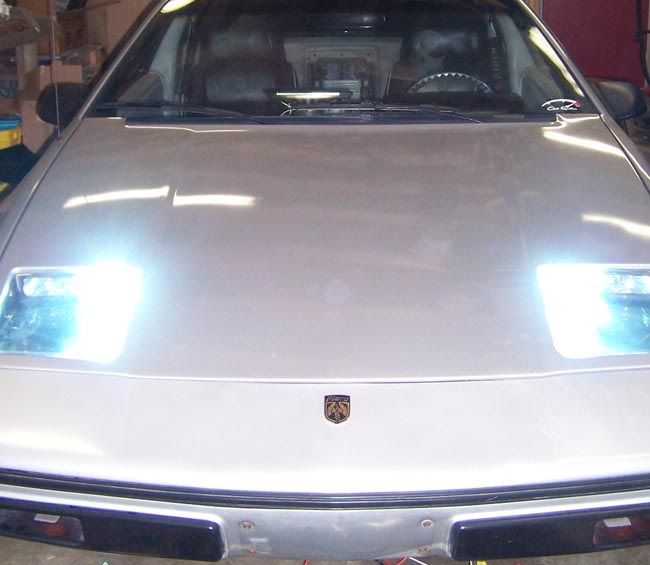
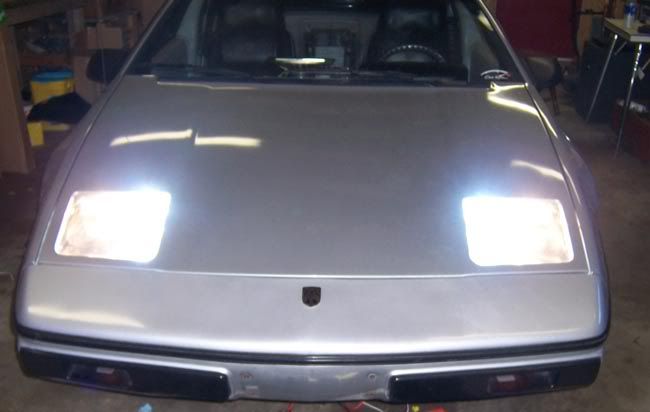
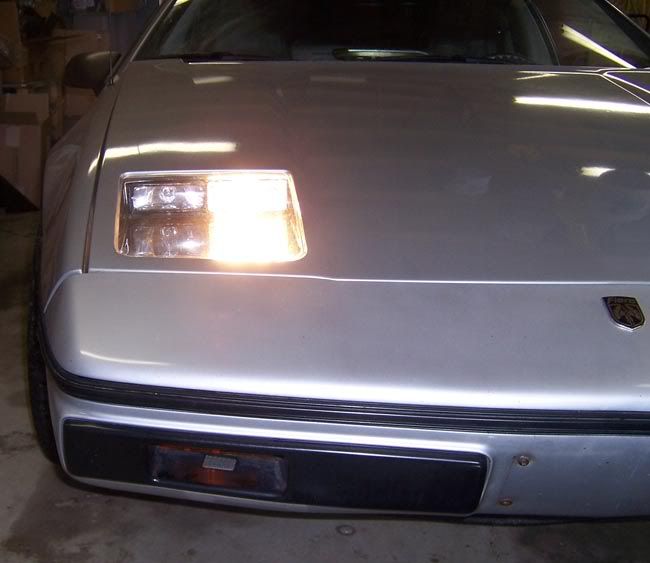
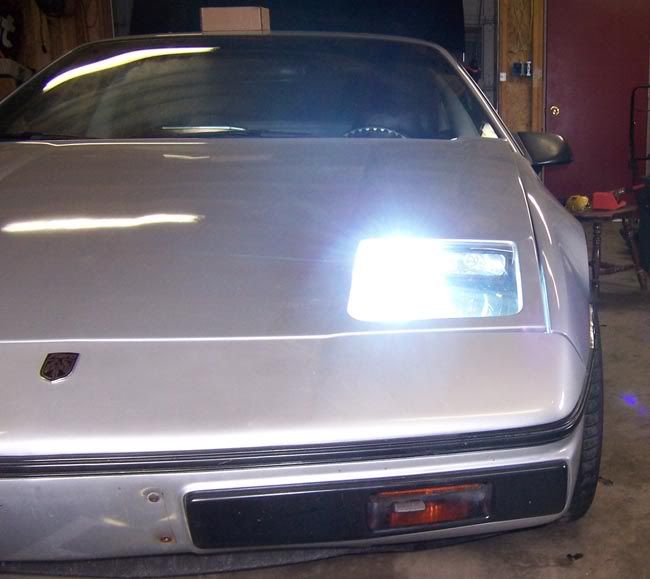
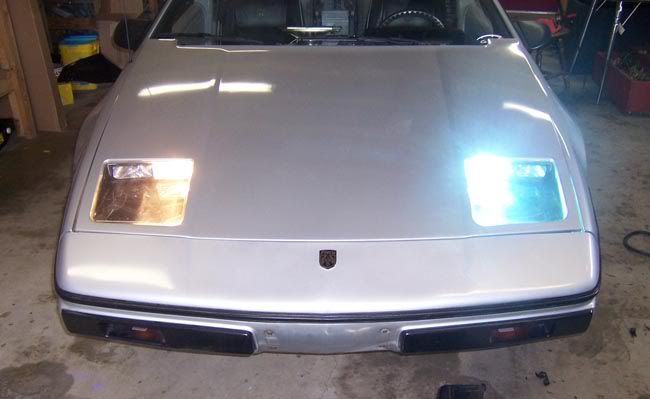
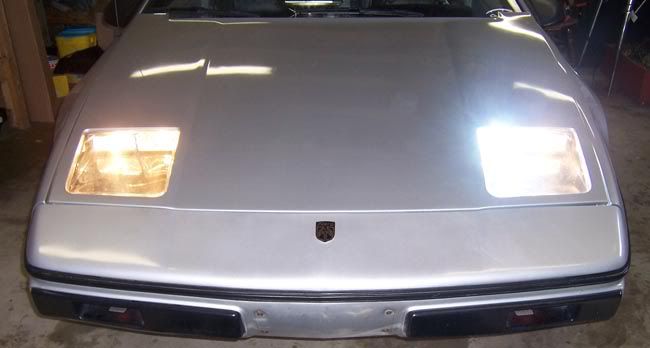
 Just finished timing my '85 Fiero with 3.4L v6 and this is the first time playing with the new setup.
Moderator: Series8217
Just finished timing my '85 Fiero with 3.4L v6 and this is the first time playing with the new setup.

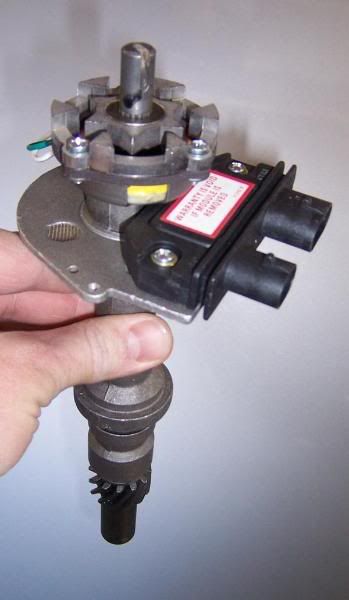
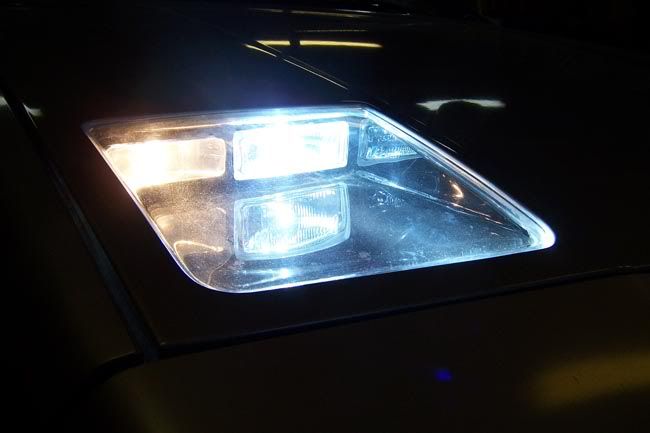
Why not just go to the 7730 ECU and run DIS? Cheaper, and even better startup/idle.Chris-Nelson wrote: I put it in the car and noticed a huge improvement on startup and idle. I'm very impressed and very happy with my purchase. The cost of this peice, which I'm sure will serve me well for a long time was $140 shipped to my door.
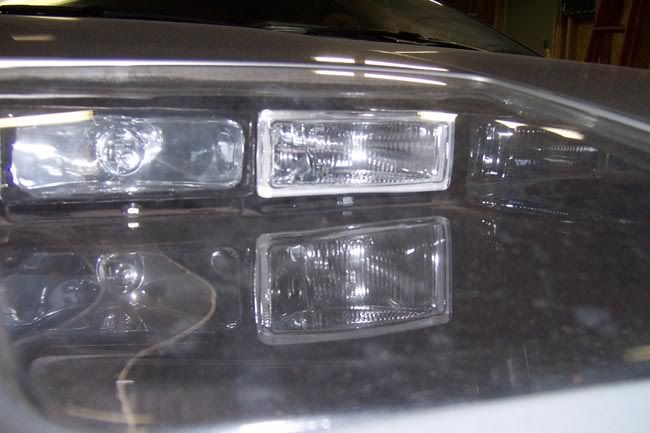
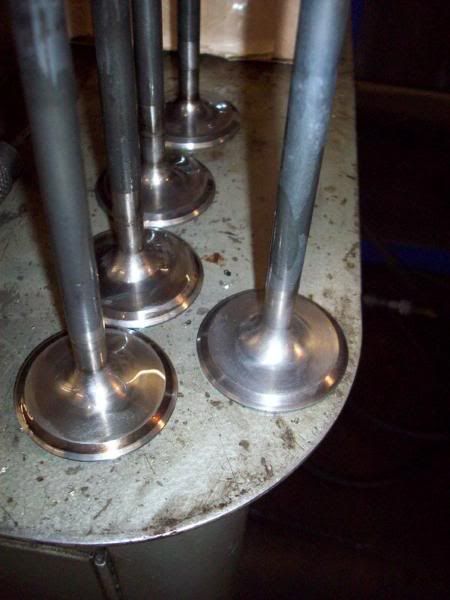
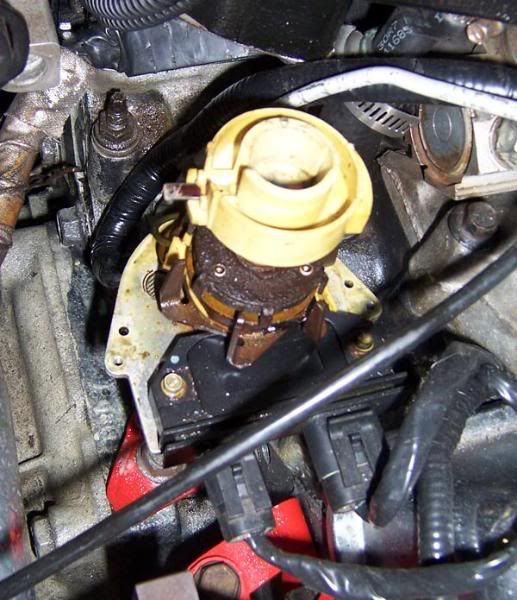
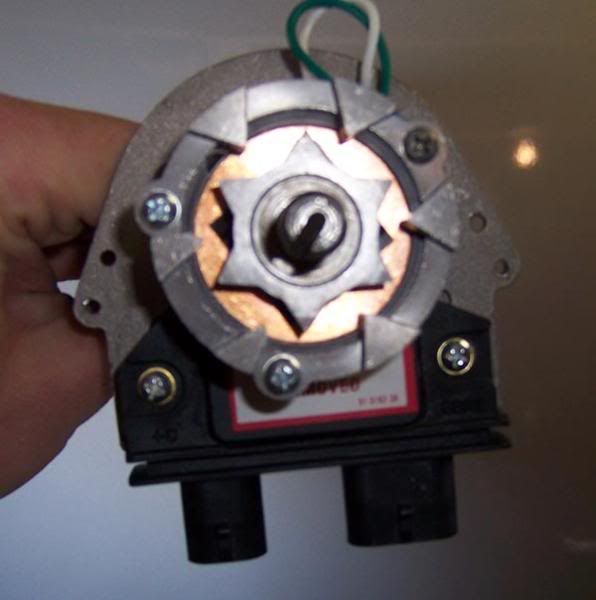
If you are still using the original distributor in your 2.8 or 3.4 I HIGHLY suggest replacing it with one of these.
Gooch wrote:Way to go douche. You are like a one-man, fiero-destroying machine.